Image filters are the additional makeups given to an image to enhance its appearance and style. In photography, a filter is a camera accessory consisting of an optical filter that can be inserted into the optical path. The filter can be of a square or oblong shape and mounted in a holder accessory, or, more commonly, a glass or plastic disk in a metal or plastic ring frame, which can be screwed into the front of or clipped onto the camera lens. The majority of filters used with film cameras have been rendered redundant by digital filters applied either in-camera or during post-processing. Exceptions include the ultraviolet (UV) filter typically used to protect the front surface of the lens, the neutral density (ND) filter, the polarizing filter, color-enhancing filters, and the infra-red (IR) filter. The neutral density filter permits effects requiring wide apertures or long exposures to be applied to brightly lit scenes, while the graduated neutral density filter is useful in situations where the scene’s dynamic range exceeds the capability of the sensor. Not using optical filters in front of the lens has the advantage of avoiding the reduction of image quality caused by the presence of an extra optical element in the light path and may be necessary to avoid vignetting when using wide-angle lenses.
Image filters are very popular and are fixing in nature it all depends on the type of image on which the filter is applied. Reversing a photo filter is a rare option that cannot be found on every software or image editor. It all depends upon the type of software used, to add a filter and the time of filter applied.
Some of the best tips and tricks offered while editing an image with a filter include-
Creating edge effects-
You can use various techniques to treat the edges of an effect applied to only part of an image. To leave a distinct edge, simply apply the filter. For a soft edge, feather the edge, and then apply the filter. For a transparent effect, apply the filter, and then use the Fade command to adjust the selection’s blending mode and opacity.
Applying filters to layers-
You can apply filters to individual layers or to several layers in succession to build up an effect. For a filter to affect a layer, the layer must be visible and must contain pixels—for example, a neutral fill color.
Applying filters to individual channels-
You can apply a filter to an individual channel, apply a different effect to each color channel, or apply the same filter but with different settings.
Creating backgrounds-
By applying effects to solid‑color or grayscale shapes, you can generate a variety of backgrounds and textures. You might then blur these textures. Although some filters have little or no visible effect when applied to solid colors (for example, Glass), others produce interesting effects.
There are only a few numbers of image processing softwares that offer the option to reverse the filter after it is applied to the image. I will try my best to keep the list short and easy to follow, so most of the softwares has this reverse image filter application locked away in its premium vault and can only be unlocked when we purchase the premium pass or plans offered by the company. However, the best of the list will appear below-
1.Adobe Photoshop-
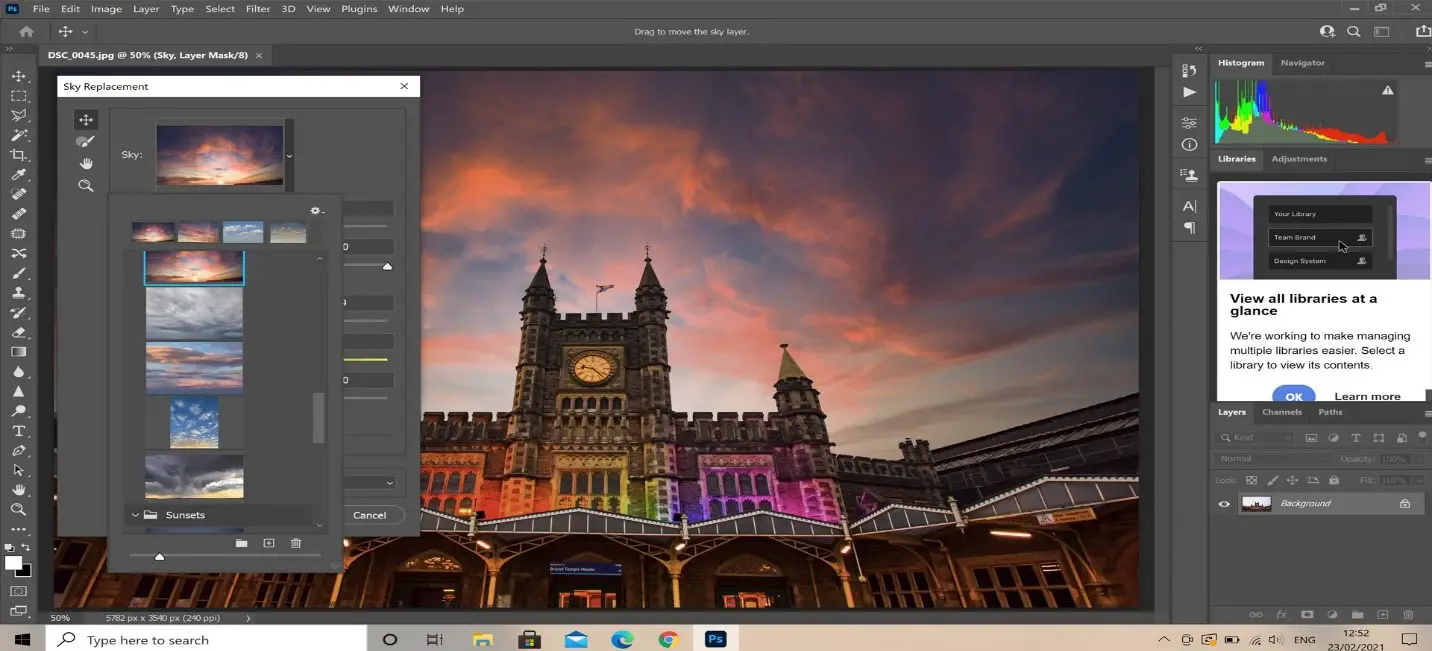 Adobe Photoshop is a software that is renowned worldwide for its features offered in image, audio, and video editing. Adobe Photoshop is a raster graphics editor developed and published by Adobe Inc. for Windows and macOS. It was originally created in 1988 by Thomas and John Knoll. Filter effects are applied in the order you select them. You can rearrange filters after you apply them by dragging a filter name to another position in the list of applied filters. Rearranging filter effects can dramatically change the way your image looks. Click the eye icon next to a filter to hide the effect in the preview image. You can also delete applied filters by selecting the filter and clicking the Delete Layer icon.
Now, adobe photoshop as a part of its FAQ’s session has presented some instructions on how to remove an added filter, as well as add a new filter to an image. The steps are as follows-
1. Do one of the following-
· To apply a filter to an entire layer, make sure that the layer is active or selected.
· To apply a filter to an area of a layer, select that area.
· To apply a filter non-destructively, so you can change your filter settings later, select the Smart Object that contains the image content that you want to filter.
- Choose Filter > Filter Gallery.
- Click a filter name to add the first filter. You may need to click the inverted triangle next to the filter category to see the complete list of filters. Once added, the filter appears in the applied filter list in the lower right corner of the Filter Gallery dialog box.
4. Do any of the following-
· To apply filters cumulatively, click the New Effect Layer icon, and choose an additional filter to apply. Repeat this procedure to add more filters.
· To rearrange applied filters, drag the filter to a new position in the applied filter list in the lower right corner of the Filter Gallery dialog box.
· To remove applied filters, select a filter in the applied filter list, and click the Delete Layer icon.
5. Click ‘ok’ when the changes made are fixed and finalized.
As mentioned above, these steps only work if the image-editing software you use is credible software and the software used should retain the history for at least the last 3-4 steps of the image editing process, only then the applied image filter can be retained. There is also one more alternative step, we have to maintain a copy of the original photo for its edit. In this case, we have to start the whole image-editing again from step 1.
In conclusion, there are many tools that can reverse an image filter from an image, but as a user, it all depends on us on how we select our tools to finish our work. There are many apps and softwares that are masking themselves in front of us and stealing our personal info from our devices. The above-mentioned apps/softwares are just an example of safe and free-to-use tools, feel free to contact us through our social media handles if there are any doubts/suggestions/ideas to be presented for this post.