PNG- Definition
The PNG image format was created in the 1990s as a replacement for the GIF image format.
PNGs are lossless compressed images with all of the features preserved. PNG quality, on the other hand, does not have big file sizes, unlike other file formats. On the web, where sites must load quickly, this is extremely helpful.
PNG files also have the benefit of partial and complete transparency, which is ideal for overlays and logos.
What are the applications?
It’s excellent for websites that need to load rapidly.
Overlays, watermarks, and logos are all possible.
Pros:
Image quality is kept during editing thanks to lossless compression.
Negatives can maintain transparency, which is important for visuals such as overlays and logos.
Cons:
Because the quality is inadequate, it is not suitable for publishing at any level.
What is image optimization?
So, what is the definition of image optimization?
Image compression is a system designed to shrink the size of photographs before they are uploaded to your website. The picture will not slow down the loading speed of your site if it is reduced.
With these tools, you can easily incorporate eye-catching thumbnails into your content and amaze the site. It’s a terrific way to entice your viewers with your company name while also revealing a little of your individuality and describing your product.

Difficulties brought on by high-resolution photos
Graphics are the lifeblood of a web post, as they make the material more engaging and understandable. High-quality photos, in particular, might appeal to the readers’ eyes, encouraging them to finish reading the information.
Preferably, the subject matter of your site should immediately capture the attention of visitors with incredible photos as soon as they arrive, and then they should progressively scroll down the article to get the material you want to convey before concluding with actions at the bottom.
Those lovely thumbnails, on the other hand, are a double-edged sword. In actuality, users are only frustrated once they enter the page because it takes longer for the site to load. Furthermore, their patients may reach a breaking point and leave the website.
According to a study, “most web users will just abandon a site if it does not load within about an average of eight seconds.”
Furthermore, luring a customer to a store’s website is a difficult challenge. Before displaying the store’s material online, you’ve already spent a significant deal of time and effort organizing great content, optimizing SEO, and promoting. Why would you just let the photos take up your consumers’ time while they wait for the information to load? How can clients focus on your content or product if the download time bothers them so much? As we start breaking down, the consequences are going to be disastrous:
For starters, it increases the odds of a store’s bounce rate increasing.
Second, a prolonged loading time frustrates the user and negatively impacts the consumer experience.
Finally, traffic has decreased as a result of a drop in search engine rankings.
Five best methods to compress PNG images for free
This is where we start introducing the best PNG Compression tools.
Professional picture compression programs, such as Adobe Photoshop, can be quite expensive and unnecessary. If website owners wish to keep costs down when compressing photos for their sites, a free internet application can function just as well as a premium service. Here are the five top picture compression tools that we’d like to share with you:
Method 1: Image Optimizer by Mageplaza
5 MB is the highest allowable file size.
PNG, JPG, GIF, TIF, and BMP are examples of file types.
Has both lossy and lossless compression capabilities.
Mageplaza Image Optimizer for Magento 2 Store is one of the greatest image optimization methods for Magento 2 store sites. PNG, JPG, GIF, TIF, and BMP are among the most common image formats supported. It also comes with two compression options: Lossy and Lossless. You’ll be able to decrease file size while maintaining image quality with these two options.
Furthermore, with the assistance of cron, both scan and optimization procedures will be powered up, saving store administrators a lot of time. Lastly, it includes a backup feature that allows users to make changes to photographs without losing the source file.
Method 2: TinyPNG
Maximum file size per upload: 20 photos (5MB maximum per image). You can upload more by refreshing the page! JPEG, JPG, and PNG are examples of file types.
Do not be fooled by this panda’s attractiveness!
TinyPNG is one of the most well-known and widely used free JPEG and PNG compression tools. It’s also a fantastic tool for shrinking graphics for an app or shop website. The best possible outcome of Tiny PNG’s efficiency is that more than 70% of the picture size is conserved.
Not only that, but each upload allows you to transmit up to 20 photographs at once, with each image having a maximum size of 5MB. You can also compress 100 photographs per month. It even includes a free image compression extension designed exclusively for the Magento platform.
Method 3: CompressNow
10 photos are the maximum file size.
JPEG, PNG, GIF, and PDF are examples of file types.
CompressNow provides a slider that allows the user to determine the rate of compression for the photographs, and the picture quality when compacted at a given percentage is displayed below it.
Method 4: Kraken
File size limit: 20 images
JPG, PNG, and GIF are examples of file types.
Kraken allows you to choose between two compression modes: Lossless and Lossy. Another advantage of this free service is that it allows users to create accounts so that they can quickly access and use the cloud services.
Kraken simultaneously permits users to export files to Dropbox or import files from Dropbox, Box, or Google Drive. It could save time by mass uploading up to 20 photos at a time and compressing each image to a maximum of 32MB.
The sole drawback is that files larger than 1MB can only be compressed to a certain extent. The pro package must be purchased by the user. If you’re an expert who has to reduce large files of photos on a frequent basis, consider paying $5 per month for a plan that includes additional capabilities like storing your files in the Kraken cloud for future use.
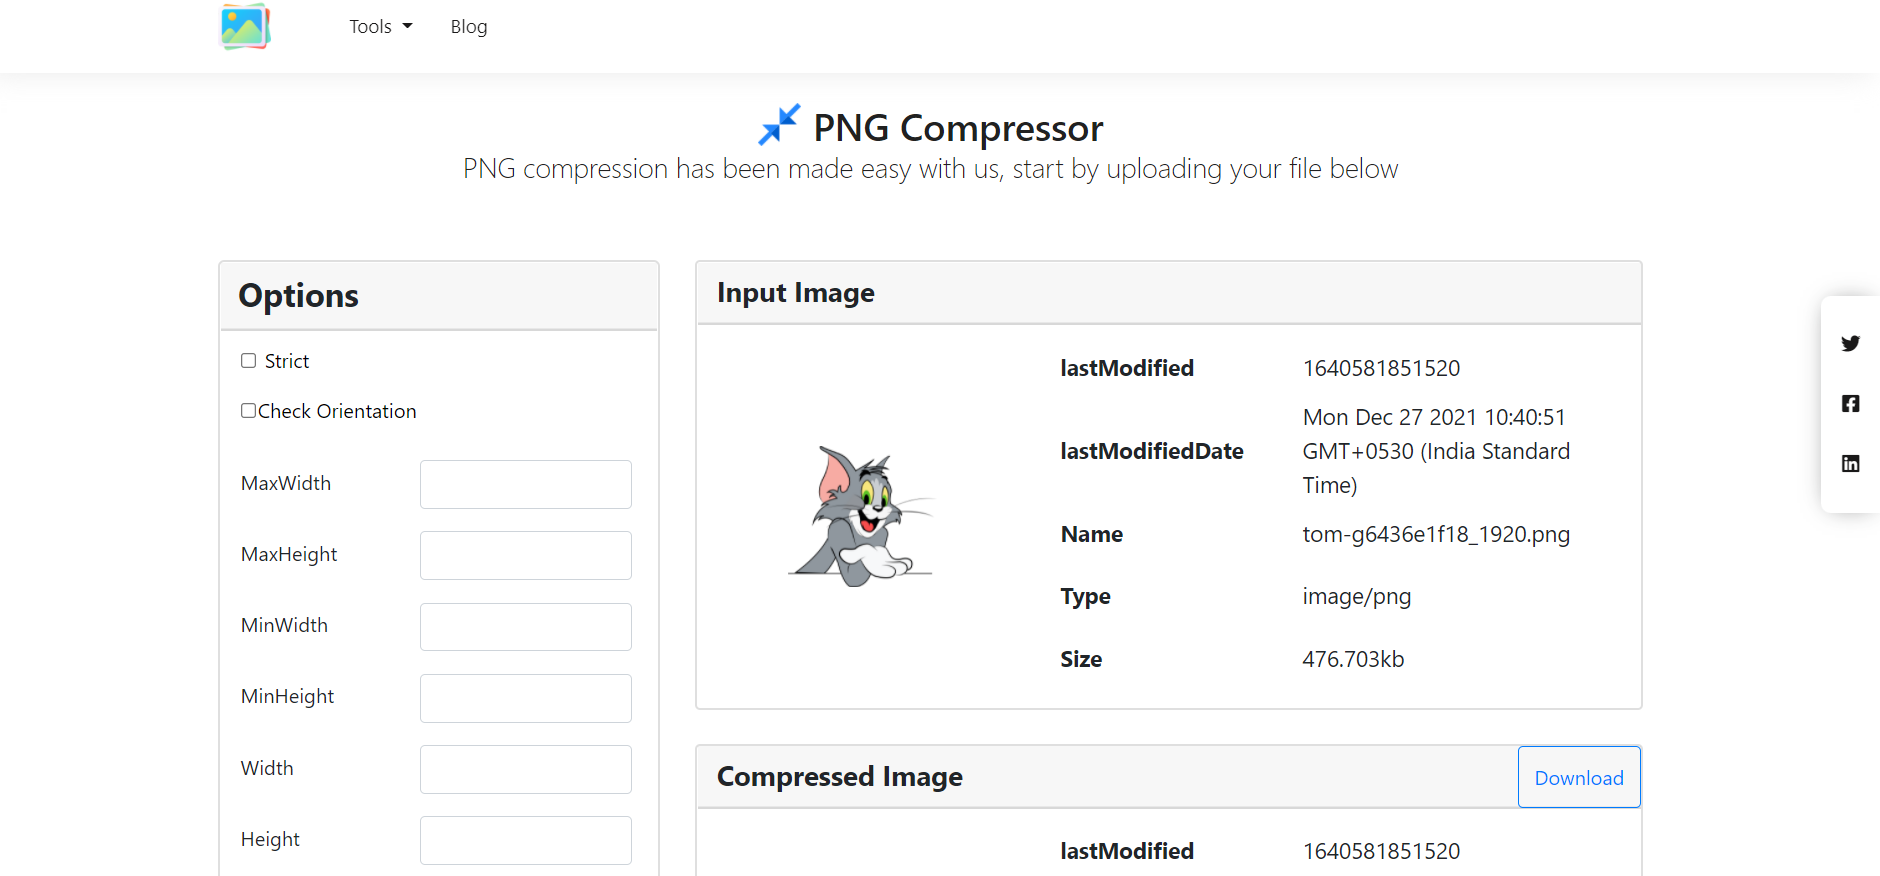
Method 5: PNG Compressor (safeimagekit.com)
Safeimagekit.com’s PNG Compressor tool has a lot of options for shrinking any PNG image file. Modifying the uploaded PNG image by altering its proportions (height, width, etc.) is one of the key functions.
This picture compression tool also allows you to select a size for compression, which can be set to max or min depending on the image you’ve provided. For precise and rotational adjustment, this function also includes a strict mode and an orientation mode.
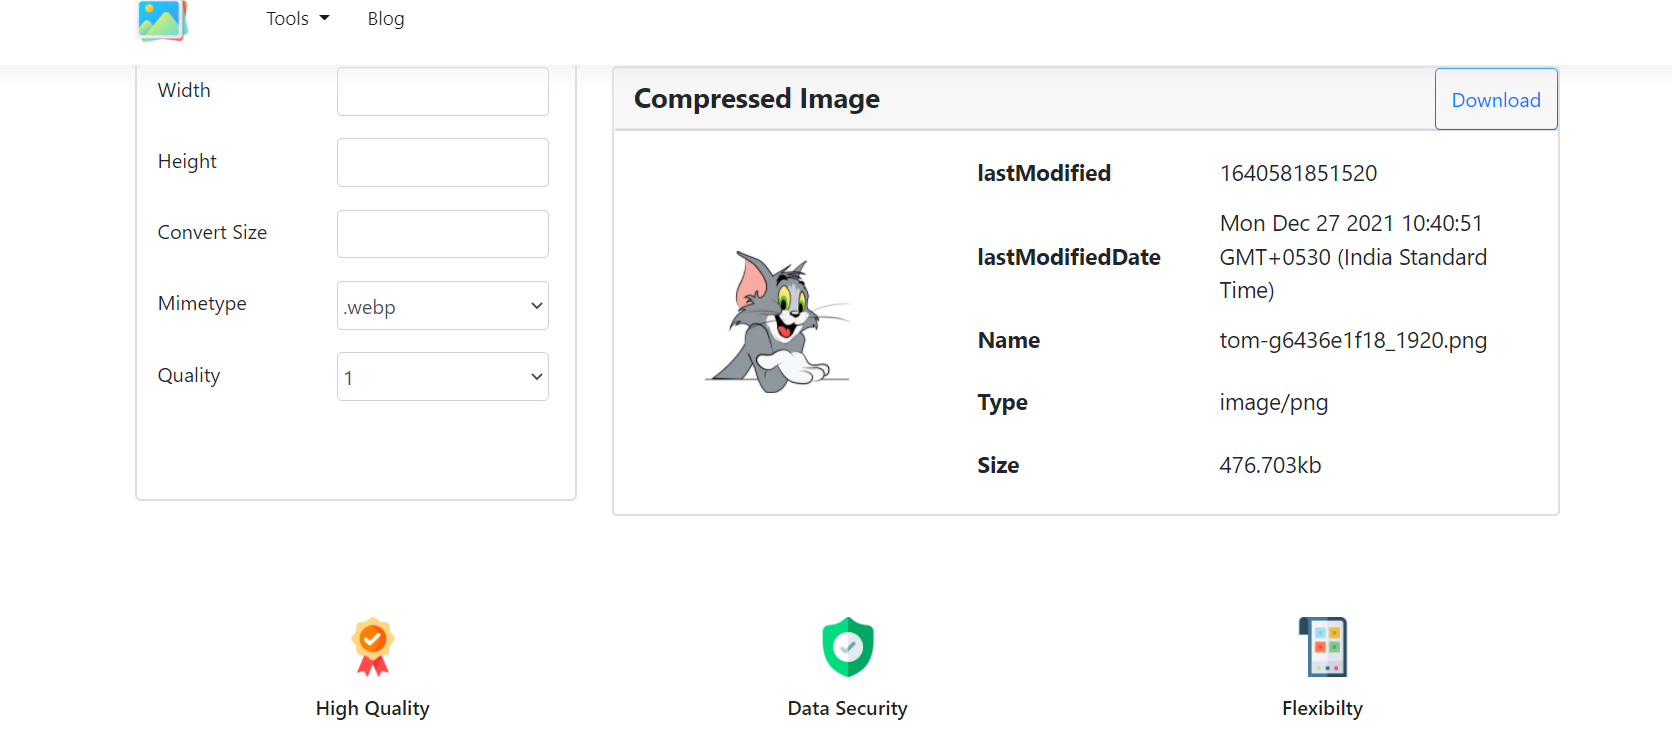
The image compressor also allows the user to alter the image’s quality and convert the image’s format to their favor. After we upload an image to safeimagekit.com, the compression feature contains multiple characteristics, such as the image’s name, size, kind, and so on.
The last modified parameter provides us with the time, date, and time zone of the last modification. This also gives us a progress bar after we’ve uploaded the image file and before we begin modifying it.
Our image compressor tool is compatible with practically all browsers and devices. No specialist is required to use our program, which is very simple to understand. It’s absolutely free; you can use all of our tools without spending a dime. Our image compressor is a browser-based application that requires no further software to be downloaded to your device. None of your information is transferred to our servers, and all actions are completed within the browser. As a result, we can ensure that our users are completely safe.
So, how can we make our image files smaller?
Step 1: You can either upload the picture file or Select Dropbox/Google Drive from the drop-down menu.
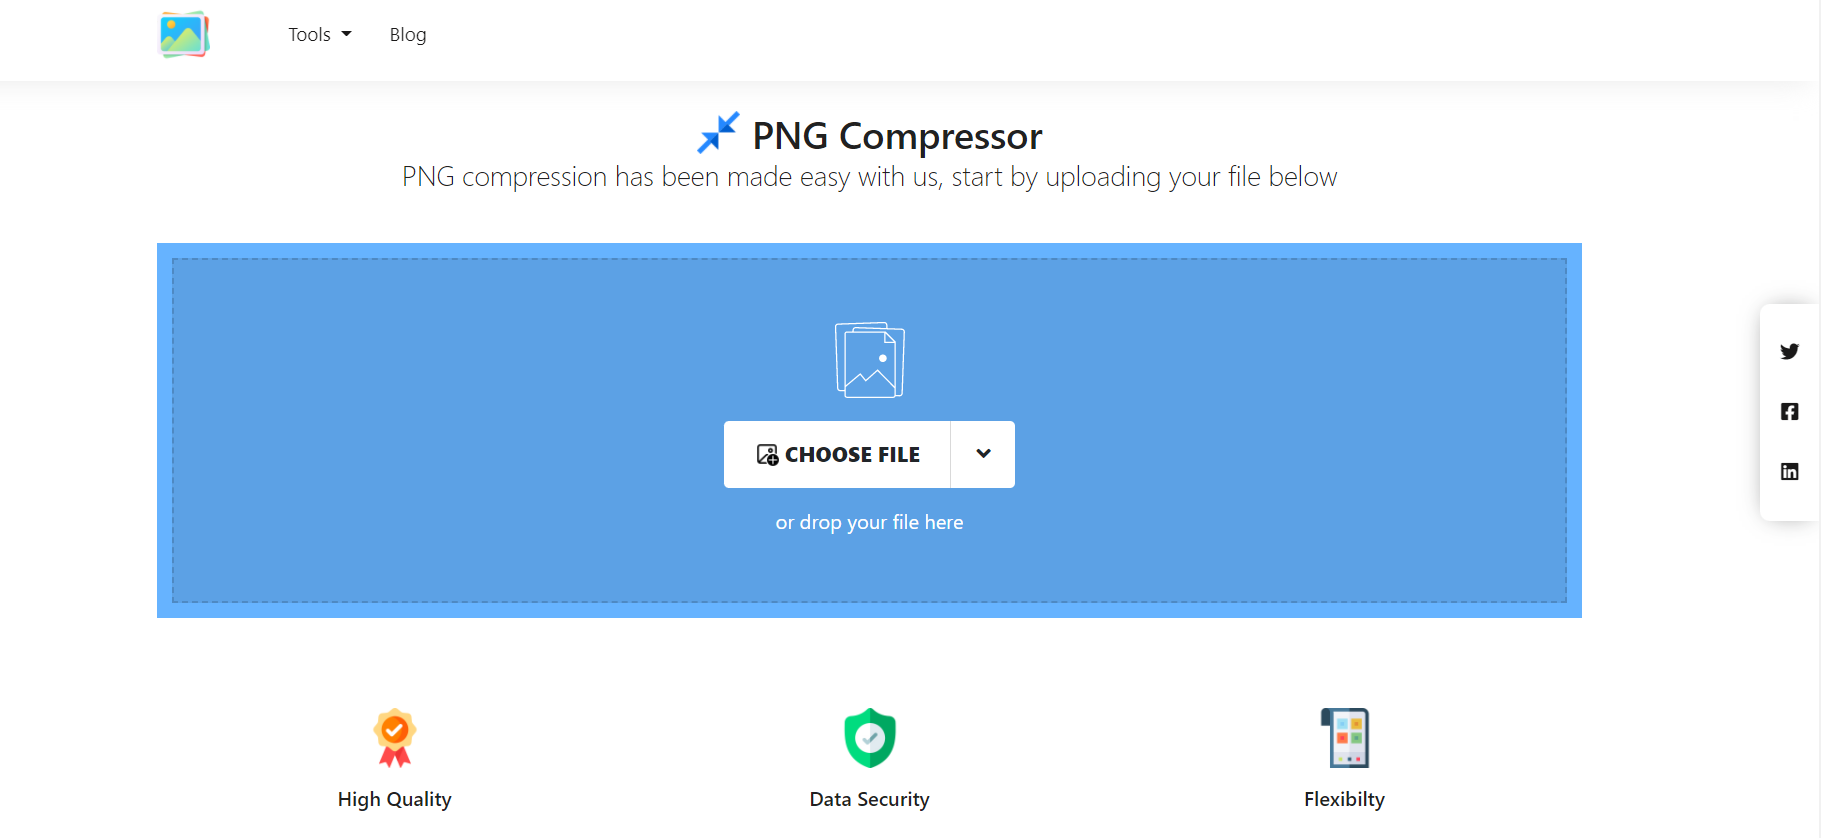
Step 2: Using the choices presented, change the parameters.
Step 3: Modify the image file’s alignment.
Step 4: To save your modifications, select the Save option.
Step 5: By using the Download option, save the image file.