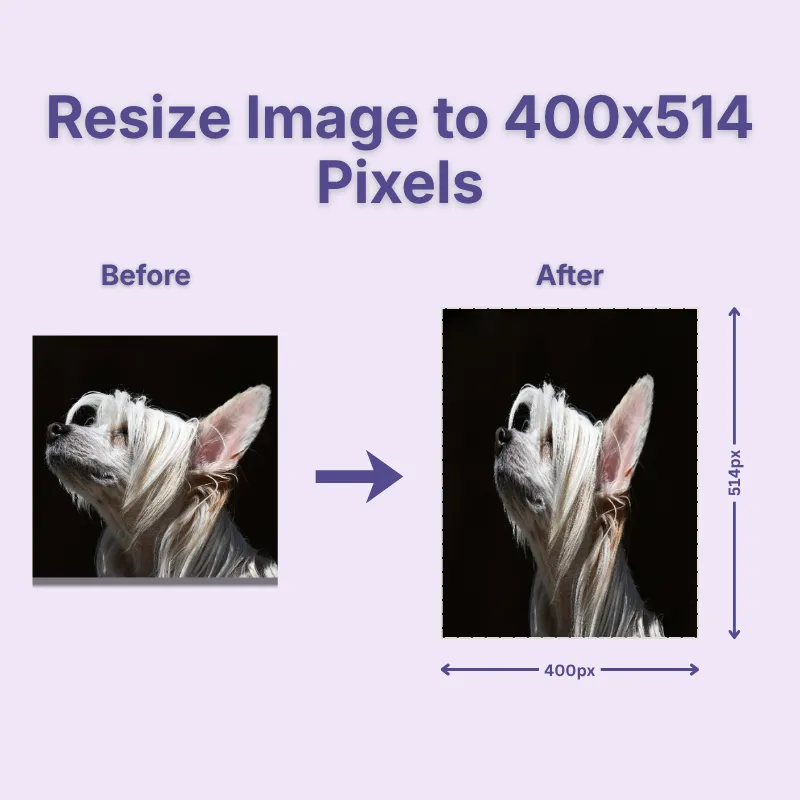
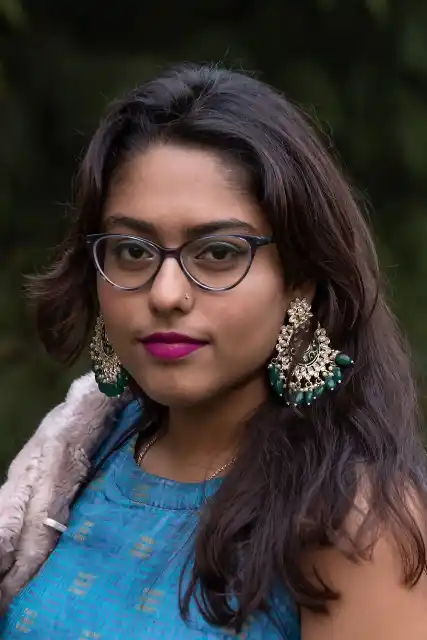
Simply upload your image and resize it to 400×514 pixels without manually entering the width or height. You can also set custom dimensions and measurement units based on your requirements.
Flexible Image Fitting Options
Choose the resizing method that best suits your image. Stretch fills the frame by adjusting the image dimensions, Crop Fit fills the area while preserving proportions, and Fixed keeps the entire image visible with added background padding when needed.
Aspect Ratio Management
The Lock Aspect Ratio option maintains the original proportions as you resize. You can also unlock it to adjust width and height independently when a precise output size is required. Convert square, portrait, landscape, or custom-sized images into your target dimensions with ease.
Image Adjustment Controls
Fine-tune your image before downloading with 25%–200% zoom, 90° rotation, horizontal or vertical flipping, and shape options.
Adjust the image view to check the result before saving it. Make quick visual changes without needing other editing applications.
DPI & Quality Settings
Choose a DPI from 72 to 300 and adjust image quality from 0.1 to 1 based on your intended use and output requirements. Use higher DPI settings when preparing images for print-oriented requirements. Adjust the quality level to balance image appearance and file size.
Multiple Output Formats
Choose PNG, JPG, JPEG, WebP, or GIF as the output format. Select the format that best suits your image quality, compatibility, and file-size requirements. Use the format that works best for your intended platform or application.
Steps to Resize Image to 400×514 Pixels
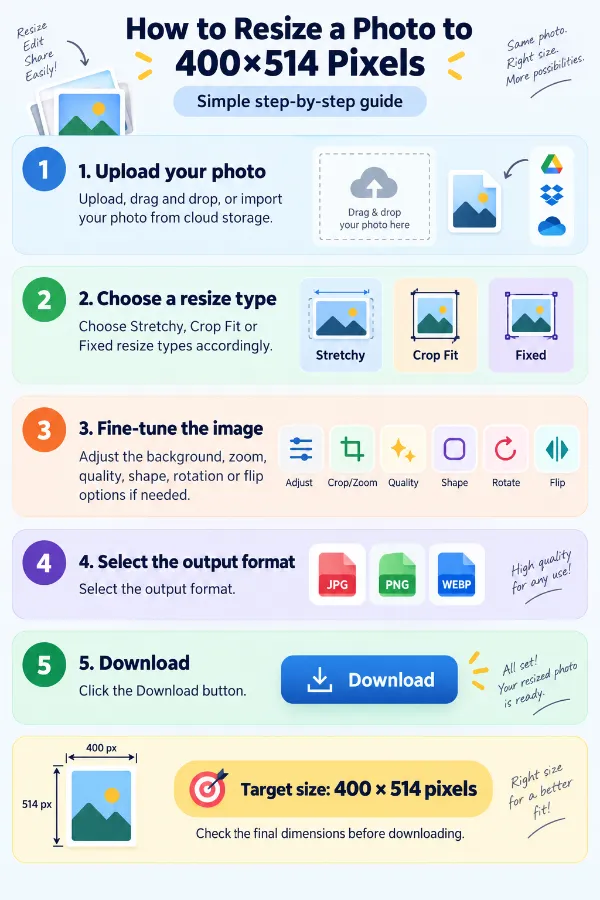
1 . Upload, drag and drop, or import your photo from cloud storage.
2 . Choose Stretchy, Crop Fit or Fixed resize types accordingly.
3 . Adjust the background, zoom, quality, shape, rotation, or flip options.
4 . Select the output format.
5 . Click the Download button.
Other useful information
Explore our visual guides and infographics
The infographic outlines how to set the width and height to 400 × 514 pixels and save the resized image.
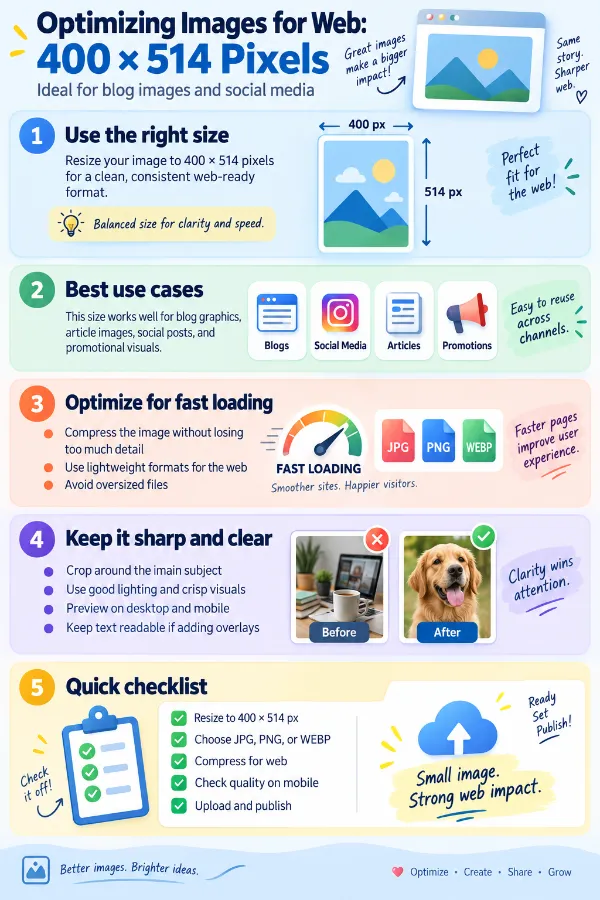
The infographic explains simple ways to prepare 400 × 514 pixel images for faster and cleaner web use.
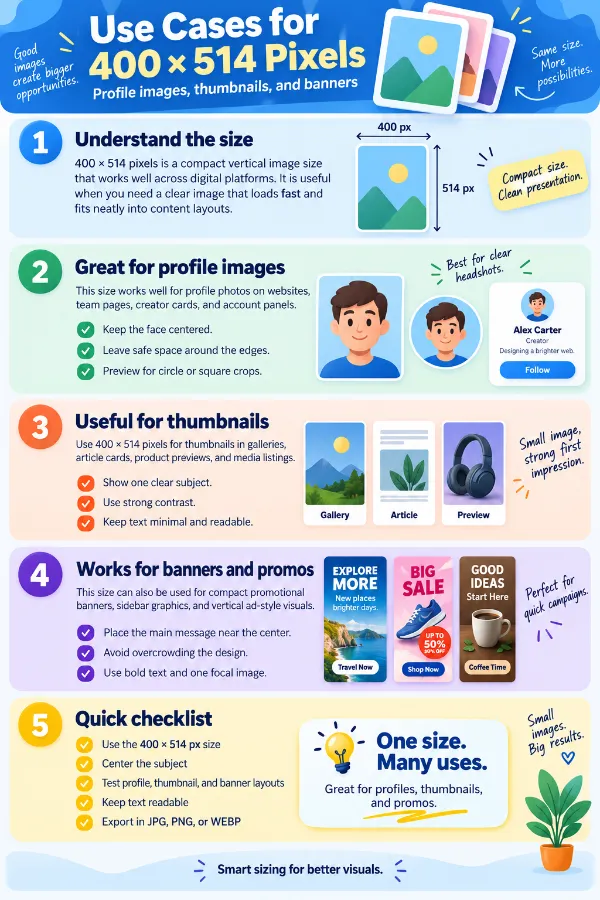
The infographic highlights situations where 400 × 514 pixel images can be used for digital forms, profiles, documents, and online applications.
×
Frequently Asked Questions
What is a 400×514 pixel image?
A 400×514 pixel image is a digital image that is 400 pixels wide and 514 pixels high. This creates a tall portrait-oriented image with an aspect ratio of approximately 0.778:1. Pixel dimensions describe the digital size of the image.
Is this a free 400×514 pixel converter?
Yes. You can use the tool to resize an image to 400×514 pixels online without installing separate image-editing software. You can also adjust the resize method, aspect ratio, DPI, quality, and output format according to your requirements.
Can I convert any photo to 400×514 pixels?
Yes. You can start with a photo of different dimensions, orientations, or aspect ratios and create a 400×514 pixel output. The selected resize method determines whether the original image is stretched, cropped, or preserved with padding.
What is the aspect ratio of 400×514 pixels?
The aspect ratio is 400:514, which simplifies to approximately 200:257, or 0.778:1. This is a relatively tall portrait format, so a photograph with a much wider or shorter shape may require cropping or padding to fit these dimensions without distortion.
Why does my photo need cropping when I resize it to 400×514?
Cropping happens when the original image has a different aspect ratio from 400×514 and you choose Crop Fit. The tool maintains the original proportions while filling the entire target area, so some content along the edges may need to be removed.
Can I resize an image to 400×514 without stretching it?
Yes. Crop Fit and Fixed both allow you to avoid the distortion that can occur when an image with different proportions is forced into the target dimensions. Crop Fit may remove some edges, while Fixed preserves the complete image with padding.
What does Stretchy mode do for a 400×514 image?
Stretchy adjusts the original image to fill the exact 400×514 pixel area. It ensures the entire target frame is filled, but if the original image has a different aspect ratio, objects or people in the photograph may appear stretched or compressed.
What is the best resize mode for a portrait photo?
It depends on the source image and the result you need. Crop Fit is useful when you want the 400×514 frame completely filled while maintaining proportions, whereas Fixed is better when preserving every part of the original photograph is more important than filling the entire frame.
Should I lock the aspect ratio for an exact 400×514 image?
If the final requirement is specifically 400×514 pixels, those output dimensions need to be set exactly. Locking the aspect ratio is useful when you want proportional resizing, while unlocking it allows you to control the width and height independently when the exact target dimensions are required.
What does 400×514 pixels mean in millimeters?
Pixels are digital units and do not have a fixed physical size. The physical equivalent of 400×514 pixels depends on the selected DPI. For example, at 300 DPI, 400×514 pixels corresponds to approximately 33.87 × 43.52 mm, while at 200 DPI it corresponds to approximately 50.8 × 65.28 mm.
Can I convert 400×514 pixels to centimeters or millimeters?
Yes. The tool supports dimensions in pixels, centimeters, millimeters, and inches. When converting between pixel dimensions and physical units, the selected DPI determines the corresponding physical size.
Which DPI should I use for a 400×514 image?
The appropriate DPI depends on how the image will be used: 72 DPI for basic screen viewing and web-oriented use. 96 DPI for general digital viewing and applications that use standard screen dimensions. 200 DPI for ordinary print requirements when extremely high print detail is not necessary. 300 DPI for higher-quality printing when greater print detail is required.
What pixel dimensions does 400×514 correspond to at different DPIs?
The image remains 400×514 pixels if those are the final pixel dimensions; DPI determines its associated physical size. For example, if you are preparing a physical image at a particular DPI, such as 72 DPI, about 5.56 × 7.14 inches; 96 DPI, about 4.17 × 5.35 inches; 200 DPI 2 × 2.57 inches; and 300 DPI, about 1.33 × 1.71 inches. This is why DPI should be chosen based on the intended physical output rather than simply selecting the highest number.
Which image format should I use for a 400×514 photo?
The best format depends on how you plan to use the image: JPG/JPEG for photographs and commonly supported by websites, applications, and forms. PNG for lossless image storage or transparency. WebP for web images where efficient file sizes are important. GIF for simple graphics and supported GIF content. For an ordinary photograph, JPG or JPEG is usually a practical choice.
What quality setting should I use for a 400×514 image?
The tool provides a quality range from 0.1 to 1. A higher setting generally preserves more image detail and can produce a larger file, while a lower setting can reduce file size at the expense of some image quality. For a photograph where visual quality matters, start with a higher-quality setting. If you need a smaller file for uploading to a website or application, you can reduce the quality while checking that the image still looks acceptable.
Can I resize a square photo to 400×514 pixels?
Yes. A square photo can be resized to 400×514 pixels, but the source and target shapes are different. Use Crop Fit if you want the target area completely filled while maintaining proportions, or Fixed if you want to preserve the entire square image with background padding.
Can I change the background color when making a 400×514 image?
Yes. When using Fixed mode, you can select a background color or enter a hexadecimal color code. This color fills the additional space around the image when the original photograph does not completely cover the 400×514 target area.
Can I resize a private photograph to 400×514 without sending it to a server?
Yes. The tool performs the image resizing locally in your browser, so the image does not need to be sent to a remote processing server for the resizing operation. This can be useful when working with personal photographs or other files you prefer to process locally.
How can an image caption generator help me create captions for different types of images?
An image caption generator can help turn the visual content of an image into a starting point for a descriptive or engaging caption. This can be useful for social media posts, blogs, product images, personal photographs, and other visual content where you need accompanying text. You can review the generated caption and adjust its wording to match the purpose, tone, and audience of your post.
What can I use an image comparison tool for?
An image comparison tool is useful when you need to examine two images side by side and identify visible changes between them. It can help with comparing an original and edited image, checking different versions of a design, reviewing before-and-after changes, or spotting differences in photographs. Keeping both images together makes visual comparison easier than switching repeatedly between separate files.
Over 500k Users Rely on Our Image Editing Tools Monthly
Join a growing community of creators who trust safeimagekit.com for versatile image editing and processing solutions.
We appreciate your feedback and will use it to improve our services.
About The Author
Hey there! I'm Aditya Thakur, a dedicated technology enthusiast with a strong passion for music and anime. I tackle challenges head-on and consistently strive for excellence. In my past time, you can find me indulging in my favorite tunes or exploring captivating anime worlds.