Upload your photo directly from your device using the Upload Image button, drag and drop it into the tool, or import it from Google Drive or Dropbox. Choose the upload method that is most convenient for your workflow.
Get the Right 4×6 Photo Size
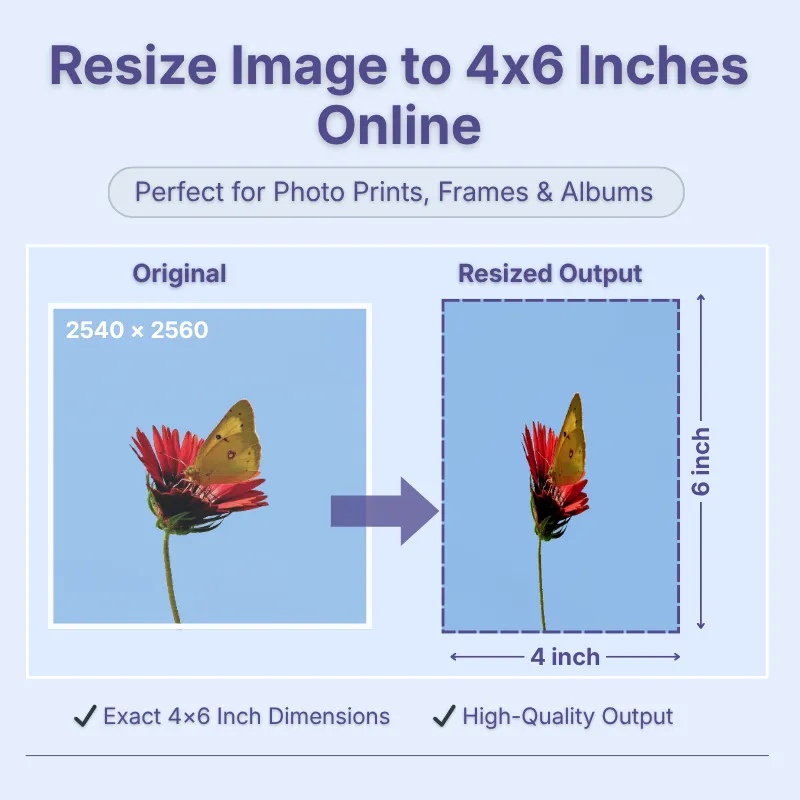
Create an image with the required 4 × 6 inch physical dimensions instead of manually entering the width and height. This is useful when a form, print requirement, or photo specification asks specifically for a 4×6 image. You can also change the dimensions and measurement units to suit other requirements.
Stretch, Crop Fit, or Fixed
The three fitting modes give you different ways to prepare the photograph. Stretchy fills the target dimensions, Crop Fit fills the frame while maintaining proportions, and Fixed keeps the complete image visible with background padding.
Lock or Unlock Aspect Ratio
Turn on Lock Aspect Ratio when you want width and height to remain proportional while adjusting the image. Unlock it when you need independent control over the dimensions for an exact 4×6 output.
Print-Oriented DPI Control
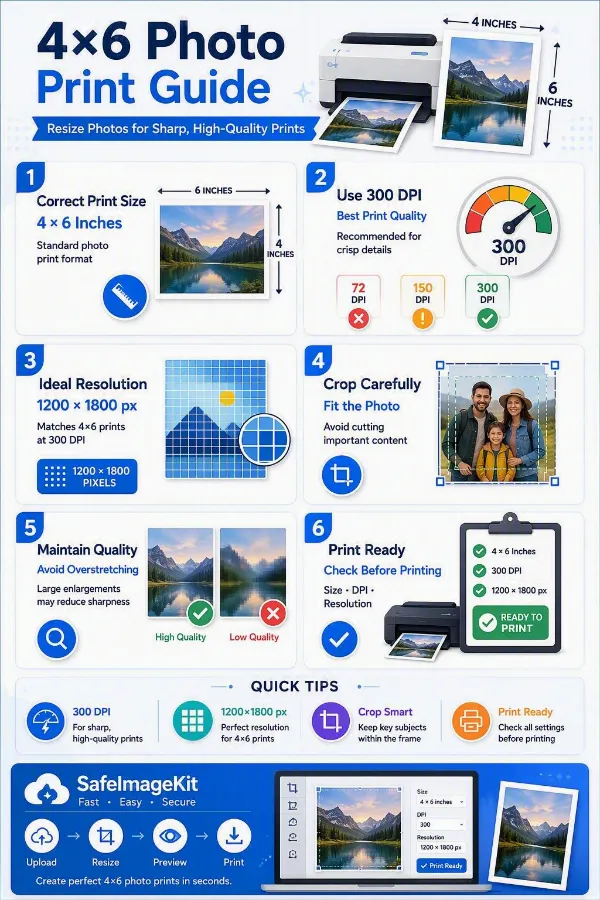
Choose between 72, 96, 200, and 300 DPI when preparing the 4×6 image. DPI is particularly relevant when the resized photograph will be printed because it affects the relationship between the physical 4×6 size and its pixel dimensions.
Fine-Tune Image Adjustments
You can zoom from 25% to 200%, rotate the photograph 90 degrees left or right, flip it horizontally or vertically, change its shape, adjust quality from 0.1 to 1, and choose PNG, JPG, JPEG, WebP or GIF output.
Steps to Resize Image to 4x6 Inches
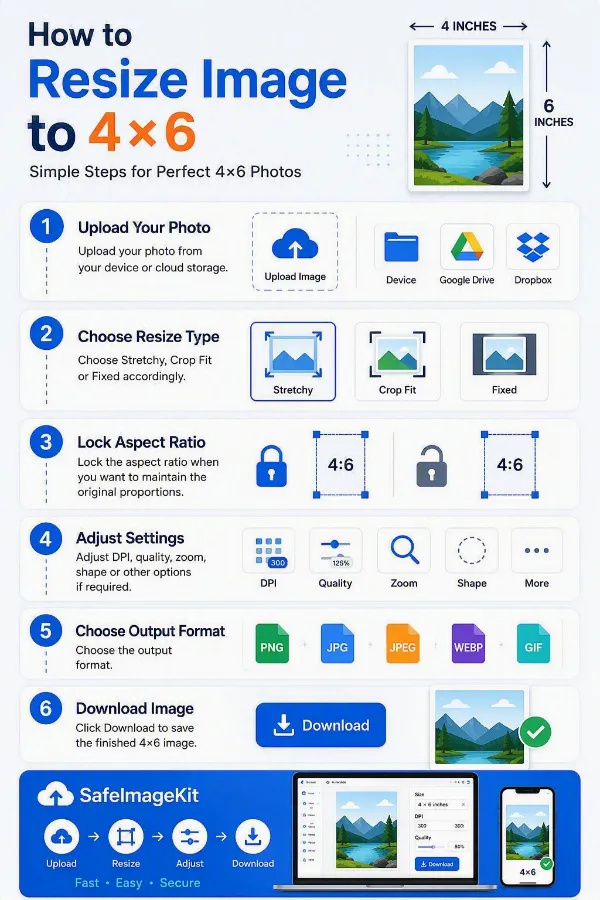
1 . Upload your photo from your device or cloud storage.
2 . Choose Stretchy, Crop Fit, or Fixed accordingly.
3 . Lock the aspect ratio when you want to maintain the original proportions.
4 . Adjust DPI, quality, zoom, shape, or other options if required.
5 . Choose the output format.
6 . Click Download to save the resized 4×6 inch image.
Other useful information
Explore our visual guides and infographics
The infographic explains the size, proportions, and basic settings for preparing a 4 × 6 inch photo for printing.
The infographic shows how to set an image to 4 × 6 inches and prepare it for printing.
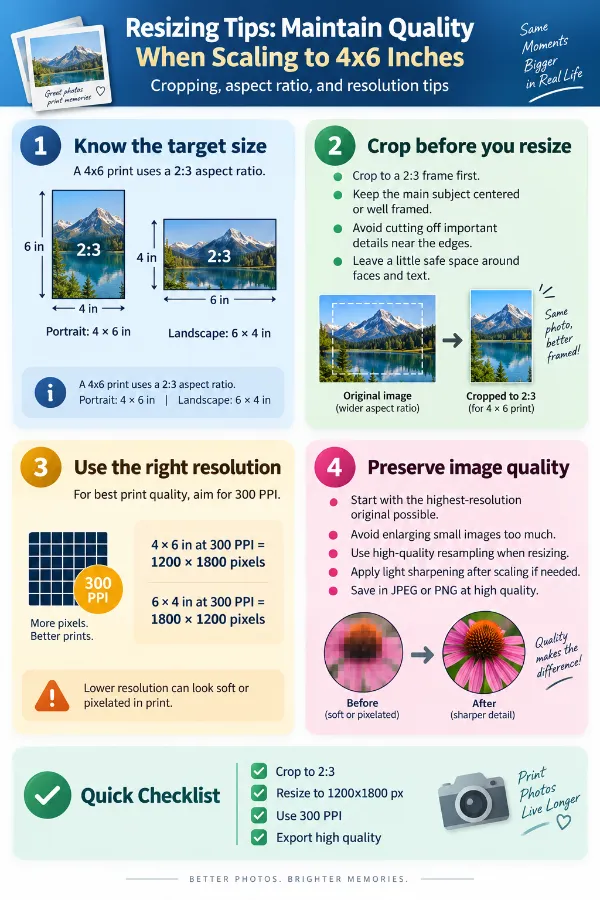
The infographic shares practical tips for fitting an image to 4 × 6 inches while keeping the proportions suitable for printing.
×
Frequently Asked Questions
What is a 4×6 photo size?
A 4×6 photo is an image prepared to measure 4 inches wide by 6 inches high when used at the specified physical size. It has a 2:3 aspect ratio, making it a common rectangular format for printed photographs, photo albums, documents, frames, and other print purposes. The actual pixel dimensions can vary depending on the selected DPI.
Can I convert any photo to 4×6 size?
Yes. You can start with a photo of almost any size or shape and prepare it as a 4×6-inch image. If the original photo has a different proportion from the 4×6 format, choose whether you want to stretch it, crop it, or preserve the complete image with padding.
What if my original photo is not the same shape as 4×6?
You have three resize options. Stretchy fills the entire 4×6 area but may distort the image, Crop Fit fills the frame while maintaining the original proportions and may remove some edges, and Fixed keeps the complete photograph visible by adding padding around it.
Why does my photo get cropped when I make it 4×6?
Cropping can occur with Crop Fit because the original photo and the 4×6 frame may have different proportions. To fill the entire 4×6 area without distorting the image, the tool may need to remove some content from the edges. If you want to keep the complete photograph, use Fixed instead.
Which option should I use for a 4×6 photo with a white background?
Choose Fixed and select white as the background color. This keeps the complete photograph visible while filling any unused area around it with white padding, making it useful when you need a clean 4×6 print.
Can I enter a custom background color for a 4×6 image?
Yes. When using Fixed mode, you can select a background color or enter a hexadecimal color code for more precise control. The selected color is used to fill the padding around the photograph when the original image does not completely fill the 4×6 dimensions.
What DPI should I use for a 4×6 photo?
The appropriate DPI depends on how you plan to use the 4×6 image: 72 DPI - Suitable for basic screen viewing and web use. 96 DPI -Useful for general digital viewing and applications that use standard screen resolution. 200 DPI - A good choice for everyday printing when extremely high print detail is not required. 300 DPI - Recommended for high-quality photo printing and situations where you want greater print detail.
For a standard 4×6 photo print, 300 DPI is generally the preferred choice when high-quality printing is the goal.
Why does a 4×6 inch image have different pixel dimensions at different DPI?
A 4×6-inch image always represents the same physical size, but its pixel dimensions can change depending on the selected DPI. For example, at 300 DPI, a 4×6 image corresponds to 1200×1800 pixels because 4 × 300 = 1200 and 6 × 300 = 1800. At 200 DPI, the same 4×6-inch size corresponds to 800×1200 pixels. The physical dimensions remain 4×6 inches; only the number of pixels used to represent that physical size changes.
Is a 4×6 photo the same as a 4×6 pixel image?
No. 4×6 inches and 4×6 pixels describe completely different things. Inches refer to the physical dimensions of a photograph, while pixels describe its digital dimensions. A 4×6-inch photo can contain hundreds or thousands of pixels in each direction depending on the selected DPI, whereas a 4×6 pixel image would be extremely small digitally.
Can I make a 4×6 photo with a white background and save it as JPG?
Yes. Select Fixed mode and choose white as the background color. The tool keeps the complete photograph visible and uses white padding where needed, after which you can select JPG or JPEG and download the finished 4×6 image.
Can I resize a portrait photo into a 4×6 landscape photo?
Yes. You can prepare a portrait-oriented photo for a 6×4 landscape layout, depending on your required orientation. Use Crop Fit if you want the frame filled while maintaining proportions, or Fixed if you want to preserve the entire photograph with padding. You can also rotate the image 90° when needed.
What if I need a 6×4 photo instead of 4×6?
A 6×4 photo has the same physical dimensions as a 4×6 photo, but the orientation is reversed. A 4×6 layout is 4 inches wide × 6 inches high (portrait), while a 6×4 layout is 6 inches wide × 4 inches high (landscape). Enter the width and height in the correct order based on the orientation you need.
Can I rotate a photo before making it 4×6?
Yes. You can rotate the photograph 90° left or right before downloading it. This is useful when the original image orientation does not match the 4×6 layout you need.
Can I resize a confidential document or medical image to 4×6?
Yes. The resizing operation is performed locally in your browser, so the image does not need to be transmitted to a remote server for processing. However, for confidential or regulated files, you should still follow any applicable organizational, privacy, or regulatory requirements.
Why does my 4×6 image look blurry after resizing?
The final image can look blurry if the original photograph does not contain enough detail for the new dimensions. Enlarging a low-resolution image cannot create detail that was not present in the original. The output format and quality setting can also affect the final appearance, so using a suitable quality level and a sufficiently detailed source image can help.
When is it useful to split one photo into multiple separate images?
Splitting a photo can be useful when a large image needs to be divided into smaller sections for uploading, printing, sharing, or creating a multi-part layout. For example, you may want to divide a wide photograph into several equal sections or separate different parts of a larger image into individual files. A photo splitting tool can make this easier without requiring you to manually crop and save each section one at a time.
What is the difference between cropping and resizing an image?
Cropping removes unwanted areas from the edges of an image, while resizing changes the overall width and height. Cropping is particularly useful when you want to focus on a specific subject or fit an image into a particular aspect ratio without adding empty space. If your goal is to remove distracting portions of an image before using it elsewhere, an image cropper can give you more control over the final composition.
Over 500k Users Rely on Our Image Editing Tools Monthly
Join a growing community of creators who trust safeimagekit.com for versatile image editing and processing solutions.
We appreciate your feedback and will use it to improve our services.
About The Author
Hey there! I'm Aditya Thakur, a dedicated technology enthusiast with a strong passion for music and anime. I tackle challenges head-on and consistently strive for excellence. In my past time, you can find me indulging in my favorite tunes or exploring captivating anime worlds.